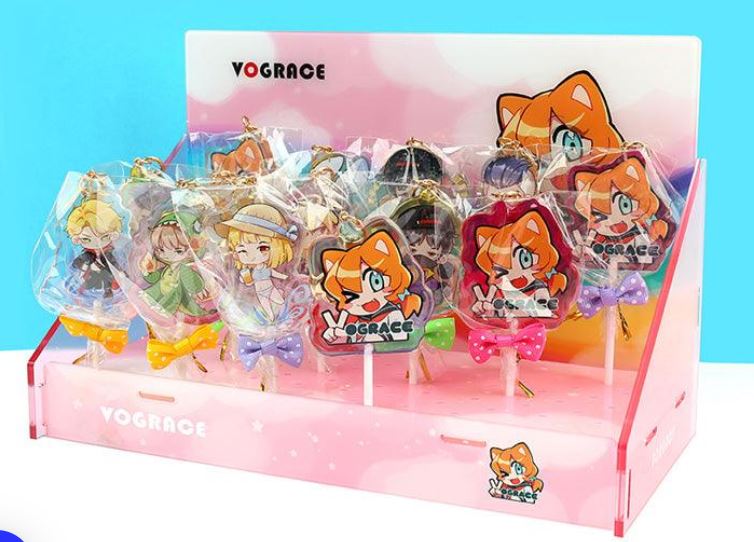
Creating customized keychains is a great way to show someone how much they mean to you. You don’t have to be an expert craftsman to make a meaningful personalized keychain. Read this blog with some tips and tricks for crafting the perfect custom keychain, so that you can surprise your loved one with something truly special!
Table of Contents
Step 1: Selecting the Right Materials
When it comes to creating a custom keychain that suits your style and personality, the options for materials are endless. But with so many choices, how do you know which material is right for you? Here are a few tips to help you select the perfect material for your custom keychain:
– Consider the look and feel you want for your keychain. Do you want it to be sleek and modern, or fun and whimsical?
– Think about how often you’ll be using your keychain. If you’re planning on using it daily, make sure to choose a durable material that can withstand regular wear and tear.
– Keep in mind the weight of your keys when selecting a material for your keychain. You don’t want it to be too heavy or bulky, making it difficult to carry around with you.
– Lastly, consider the budget you have for your custom keychain project. Some materials will be more expensive than others, so be sure to choose one that fits within your price range.
Step 2: Drawing Your Design
Assuming you have a basic idea of the design you want for your keychain, it’s time to start drawing it out. This doesn’t have to be perfect by any means – think of it as a starting point that you can adjust and refine as you go along. Once you have a sketch of your keychain, you can use it as a template to create a more polished version in your preferred vector graphic software.
If you’re not sure where to start, there are plenty of online tutorials and resources that can help you get started with vector graphics. Once you have a feel for the software, you can start experimenting with different shapes, colors, and textures to create a unique design for your keychain.
Step 3: Creating a Mold
When it comes time to creating a mold for your custom keychain, there are a few things you’ll need to keep in mind. The first is the material you’ll be using to create the mold. There are a variety of materials you can use, but we recommend using something that will allow for a detailed impression, like silicone or plaster.
Once you have your material selected, you’ll need to create an impression of your design in the material. This can be done a few different ways, but we recommend using a 3D printer or CNC machine if you have access to one. If not, you can always create a negative impression by hand using clay or another shaping material.
Once you have your negative impression created, it’s time to cast your positive mold. For this step, you’ll need to pour your casting material into the negative impression and let it set according to the instructions on the casting material packaging. Once it’s set, carefully remove the mold from the negative impression and voila! You now have a perfect positive mold of your custom keychain design.
Step 4: Casting Your Keychain
When it comes time to cast your keychain, there are a few things to keep in mind. First, you’ll want to make sure that the mold is big enough to accommodate all of the keys that you’ll be using. You don’t want to have to force your keys into the mold, as this could cause them to break.
Next, you’ll need to decide what material you want to use for your keychain. There are a variety of different materials that can be used, including metals, plastics, and even wood. Each material has its own benefits and drawbacks, so it’s important to choose the one that will best suit your needs.
Once you’ve chosen a material, you’ll need to prepare it for casting. This usually involves heating the material up so that it’s pliable enough to be poured into the mold. Once it’s ready, simply pour it into the mold and let it cool. Once it’s cooled, you can remove your keychain from the mold and enjoy!
Step 5: Polishing the Keychain
Assuming you’re happy with the overall look of your keychain at this point, it’s time to start thinking about the final details that will really make it stand out. Here are a few things to keep in mind as you polish up your custom keychain:
-Choose the right finish: A glossy finish can really make colors pop, while a matte finish can give your keychain a more sophisticated look.
-Add some embellishments: Rhinestones, charms, and other decorations can take your keychain from plain to glam in no time. Just be sure not to go overboard – a little bit of bling can go a long way!
-Think about texture: Adding texture to your keychain can give it an interesting visual appeal. You could try using different materials like leather, fabric, or even wood.
-Make it personal: Add a name, initials, or short message to really make your keychain one-of-a-kind. This is also a great way to make it extra special for someone else if you’re giving it as a gift.
Conclusion
There you have it! Our 7 tips for crafting the perfect customized keychains. We hope you found this guide helpful and that you’ll be able to create a keychain that’s both unique and stylish. If you need any more help, don’t hesitate to contact us. We’d be happy to assist you in creating the perfect keychain for your needs.


